The Ultimate Reporting Guide
Getting Started

Hello Hackers, I know reporting is a very pathetic and time-consuming process, but it’s required to showcase your findings. There are many reporting styles based on different standards. Here I am specifically focused on CPTS or equivalent certification reporting. Without wasting much time, let’s start!
Universal Points
- Always use a third-person narrative while reporting.
- Try to write the report in past tense (the events already happened).
- Never include real passwords or any sensitive information in clear text.
- Don’t just blur passwords or hashes; use a solid color block to hide that data.
- The simplest and most straightforward part of the whole report is your Executive Summary.
- Write the Executive Summary in less than 2 pages so you don’t bore the CEO or CTO.
- Don’t hesitate to include errors and extra details in the explanation chain.
- Start your detailed compromise walkthrough from step 0 (not just the internal-network walkthrough).
- No need to fully hide hashes—hide around 50% of the value.
- Be clear with your assumptions throughout the report; be legitimate and responsible.
The above points are universal for any kind of report you are going to make. Now let’s continue to our main target: CPTS Reporting.
Pre-Reporting Period
This is the period when you are hacking, not really reporting. Here’s the biggest misconception about reporting:
“Reporting starts after hacking…. 😌”
Which is not true at all! Reporting starts even before the hacking….
HOW ?

Let’s take a closer look.
I say reporting starts even before the real hacking because in a real red-team or penetration test you must not only deliver the report but often also provide logs of your terminal sessions. These logs must be legitimate and match your respective timestamps. That’s why reporting starts before the actual hack. Professional and ethical penetration testers can provide each step, not only the report but also tmux or terminal logs and other artifacts to be safe in case of any unintended events.
Moreover, it’s recommended to take temporary notes of every finding you discover throughout the pentest. For example, if you discover a credential pair that you’re not sure about (whether it works or not), take a note of that credential. This is optional but effective.
Suppose a Scenario
During an authorized penetration test, an unexpected DDoS attack can place you in an uncomfortable position, as people naturally look toward the person conducting security testing when a system suddenly fails. Even if you never initiated such activity — or had not yet begun testing at all — suspicion can arise simply because of your role. In these situations, having precise, time-stamped records of your work is essential. They demonstrate exactly what you were doing, which commands you executed, and the systems you interacted with at the time the outage occurred.

Maintaining detailed tmux or terminal session logs, shell histories with timestamps, SSH activity records, and other system-level artifacts provides a defensible timeline that cannot be easily questioned. Presenting these logs — along with their integrity checks — allows you to show that the DDoS attack did not originate from your actions. This documentation not only protects your professional reputation but also helps the organization understand the true source of the incident.
Although terminal logs and tmux logging are not strictly necessary for a CPTS exam report, in the CPTS exam only your report is needed to pass.
Components of a CPTS Report
We reference a demo CPTS report throughout this blog, so make sure you download and open it in a new tab to go back and forth for better understanding.

For the first seven pages I don’t think I have to say much — they contain basic information about you and the target (your name, email, scope items, and other pre-defined text which generally does not need modification).
Executive Summary
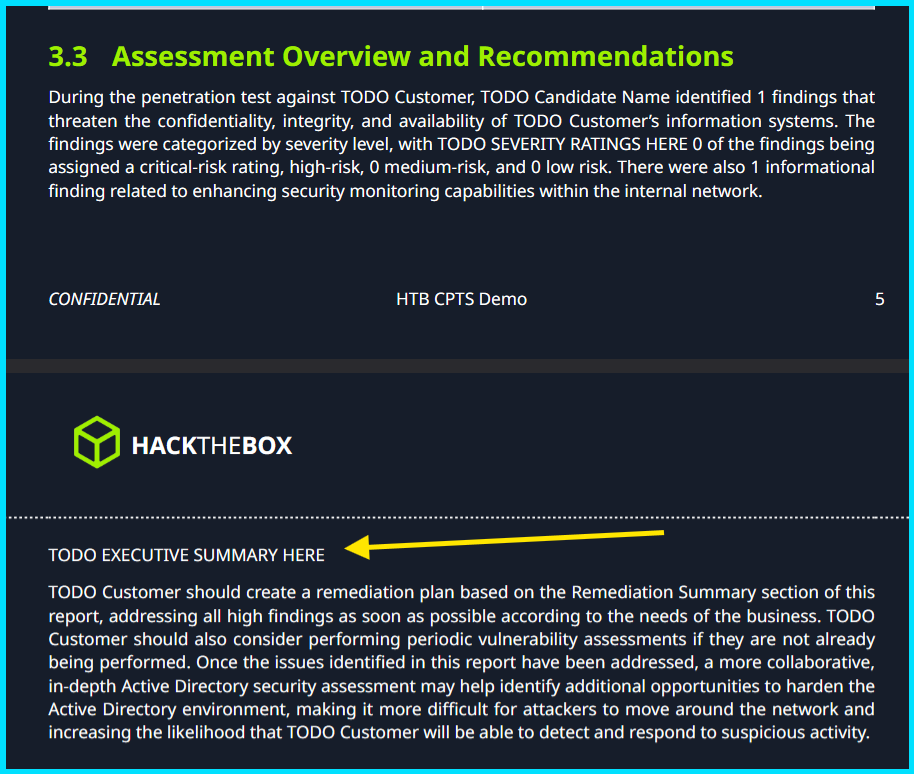
This is the face of your pentest report because this section is reviewed by the BOD (Board of Directors) — CEO, CTO, and other investors. They are not hackers or developers, so make this section as simple and easy to understand as possible. BOD members are unlikely to look up technical terms like DNS or SMB spoofing, so write in human-readable, concise language.
For example
Instead of writing :- Tester found insecure deserialization vulnerability in the __destruct() and uses this to gain RCE
Write :- There was a loophole in coding practices that allowed an attacker to gain remote access to a machine and take control.
Advisable length: 1 page
Detailed Walkthrough
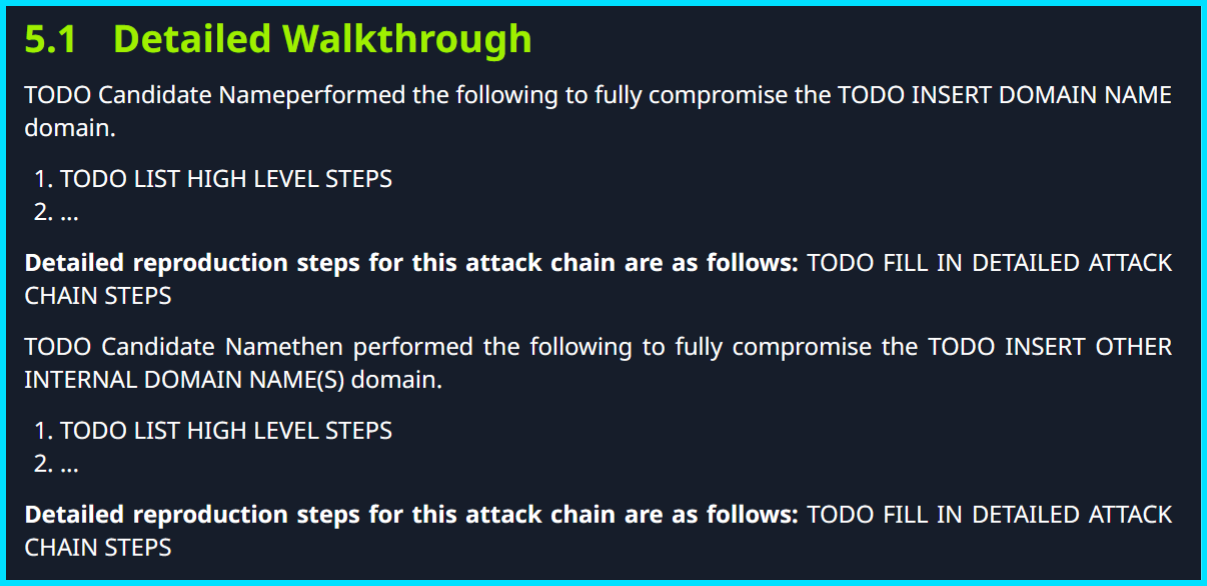
From this part you really start writing your report. In this section you don’t have to include the whole attack chain with every command and image; just highlight the major steps taken throughout the penetration test, for example:
- External TCP port scan revealed XX open ports, including XYZ service and ABC service hosting the EFGH web application.
- The tester performed ABCD scans to identify further attack vectors.
- The XYZ attack yielded XXXX artifacts.
- The tester used XXXX to perform IJKL actions.
And so on, according to what you actually did during the penetration test. Don’t be overly granular here — highlight the major steps taken to compromise the network.
Advisable length: 2–3 pages
Detailed reproduction steps for this attack chain
In this section you must provide as many details as possible, including commands, outputs, techniques, screenshots, and anything else that proves the finding.
Must remember all the Universal Points mentioned above. This section determines your accuracy, legitimacy, honesty, dedication, and final result. It is also typically the largest section of the CPTS report, so be as accurate and realistic as possible. I encourage using screenshots, but commands and their outputs are often more professional and technical than images alone — include both where useful.
This section depends on your creativity and ability to present things professionally. There are no strict limits, so keep it a reasonable length with clear details. Many people say you only have to write an internal-network walkthrough and not external pentests — that is not true. You should start the Detailed Walkthrough and Detailed reproduction steps for this attack chain from the very first step (step 0) through to full domain compromise.
Think like you are explaining to a non-technical person and provide all necessary steps.
Remediation Summary
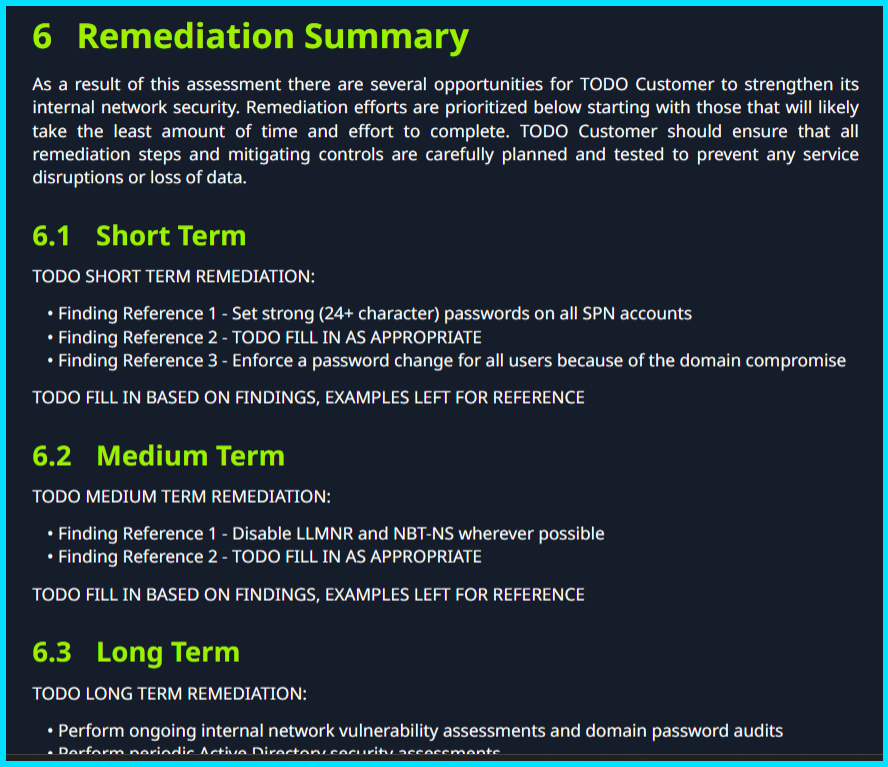
A crucial section to pass the exam, because this is the second most important part in the eyes of the checker. It illustrates how deeply you understand your attacks and how able you are to remediate them to stop or limit future destruction.
This section is time-consuming if you do it manually 🤡 (Use AI, my boy!). Try to make remediation advice legitimate and specific. You should provide short-, medium-, and long-term remediation summaries.
Technical Findings Details

This is the most effort-intensive section of the report. For each vulnerability found (for example, SSTI — Server-Side Template Injection) you must document it separately, even if it appears in the Detailed reproduction steps.
CWE: Provide a relevant CWE identifier or name for the vulnerability.
CWSS: Score the vulnerability according to its impact; be logical.
Root Cause: Explain how this vulnerability originated.
Impact: Describe the maximum possible impact of the vulnerability.
Remediation: Provide detailed steps to remediate the vulnerability to avoid future disruption.
References: Give references to legitimate resources for more information about the vulnerability.
Affected component: I know its not there in the above format but it is there in the sysreptor, identify the specific component that is vulnerable.
Finding Evidence
This subsection is where you include screenshots, commands, and narration to prove you actually found the issue and did not fabricate results.
Keep in mind you should provide a minimum of 10 different findings for the pentest, each unique. Repeat the fields above for each finding.
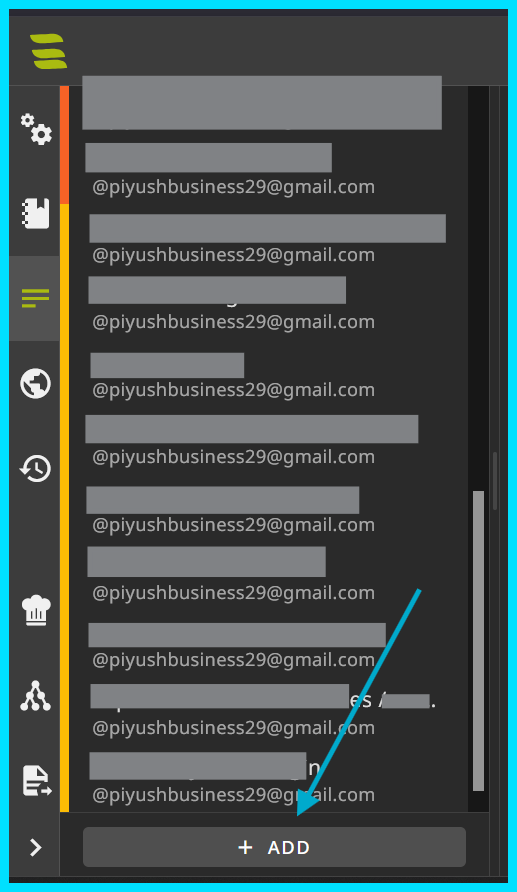
In Sysreptor you can easily add more Technical Findings Details templates by clicking + ADD. I recommend using Sysreptor for CPTS report making — it provides necessary fields preloaded.
Appendix
This part contains concise summaries of the whole report — not full narrations, just the main points. The Appendix contains many subsections where these details are given.
Finding Severities
Automatically provided by Sysreptor, but you may modify them as needed.
Host & Service Discovery

List all hosts and detected services with corresponding port numbers. In notes you may provide a two-word description for each service.
Subdomain Discovery

Document all discovered subdomains, regardless of exploitability.
Exploited Hosts

List exploited hostnames (e.g., XZY01, INFRA03, ABC01) and the method of exploitation in 2–4 words.
Compromised Users
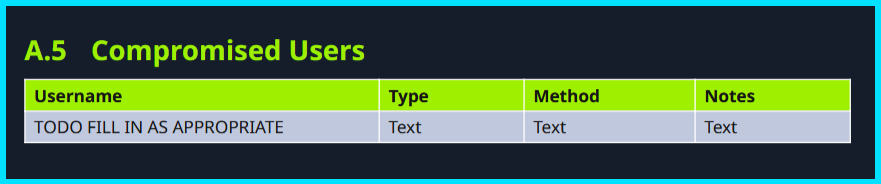
List all users compromised during the pentest, whether or not they proved useful. This list helps prove thorough testing.
Changes / Host Cleanup

Document changes and modifications made during the pentest that must be cleaned up by the development team. For example, if you changed the password of piyushshukla, highlight it here.
Flags Discovered
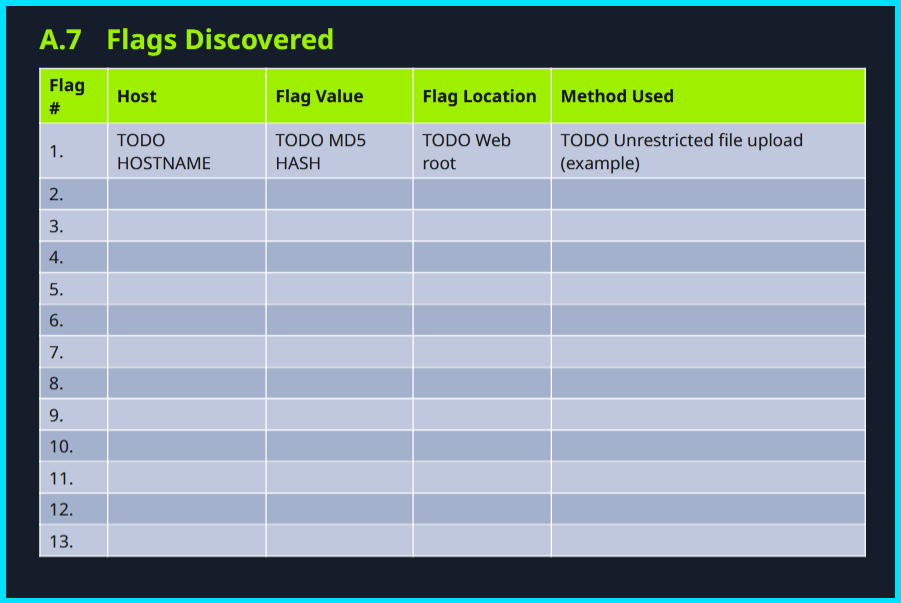
List all flags discovered during the CPTS exam pentest: flag name, flag value, host where found, and file location (e.g., /var/www/html/flag.txt).
Role of AI in Reporting

If you write this whole report line by line, it takes much longer. That’s why AI can help.
But how to integrate AI with reporting?
That’s up to you; I won’t discuss details here because HTB may consider some uses unfair.
Things to remember when using AI while reporting:
- Don’t copy-paste blindly — apply logic and make it look legitimate.
- Always provide full context to the AI chatbot so it can generate more accurate and relevant results for your report.
- Never ask AI to write the
Detailed reproduction steps for this attack chainfor you — I KNOW IT’S LONG AND HELL… but you have to do it yourself. 😔
Markdown Syntax
If you are writing your report in Sysreptor, you need this markdown knowledge to write accurately and effectively:
Text formatting
Bold: **bold text** → bold text
Italic: *italic text* → italic text
Bold + italic: ***both*** → both
Strikethrough: ~~strikethrough~~ → strikethrough
Inline code: `some_var = 1` → some_var = 1
Headings
Use # through ###### (H1–H6):
1
2
3
4
5
6
# H1
## H2
### H3
#### H4
##### H5
###### H6
Code blocks
Generally :-
three backticks (``` CODE HERE ) and again threee backticks to end the code block
Fenced code block with language for syntax highlighting:
PYTHON
Start with threebackticks but just write python afte first three backticks (```python)
1
2
def hello():
    print("hi")
Lists
- Unordered:
- itemor* item - Ordered:
1. first - Nested:
1
2
3
1. One
   - sub-item
2. Two
Task lists (GitHub style)
1
2
- [x] Done
- [ ] To do
Example:
- Done
- To do
Blockquotes
1
2
> This is a quote.
>> Nested quote
Links & images
- Inline link:
[label](https://example.com) - Image:
or
1
2
[google](https://www.google.com)

Tables
1
2
3
4
| Name  |  Age |
| ----- | ---: |
| Alice |   30 |
| Bob   |   25 |
Looks like:
| Name | Age |
|---|---|
| Alice | 30 |
| Bob | 25 |
Horizontal rule
Use three or more dashes/asterisks/underscores:
1
2
3
---
***
___
Closing thoughts
Maybe reporting is the boring part of ethical hacking, but in Hindi we say Jo dikhta hai, wo bikta hai! 😉